Jump to navigation

Digital Lizard

  • Like us on Facebook
  • Follow us on Twitter
  • Circle us on Google+
  • Subscribe to our Feed
  • About Us
    • Our Story
    • Locations
    • Careers
    • About LSC Communications
  • Services
    • Commercial Printing
    • Web 2 Print
    • Creative Services
    • Fulfillment Services
  • Our Markets
    • Design Professionals
    • Franchise Print Services
    • Convention Print Services
    • Entertainment & Nightlife
    • Casino Marketing
    • Consumer Printing
    • Automated Print Solutions
  • Motivation
    • News
    • Tutorials
    • Cool Stuff
  • Blog
  • Contact Us

Order Before 10:30 AM (PST), And Your Order Will Ship Today

It is now: • All orders submitted now will be processed the next business day.

  • Order Now

Setting Up A Photoshop File For Printing With White Ink

White ink can create some amazing effects when used on specialty substrate. Working with it can be a little tricky the first few times, which is why we've created this handy guide for those enterprising designers who are working in Photoshop, and would like to avoid any extra setup charges.

Step 1

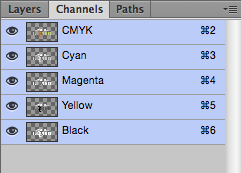
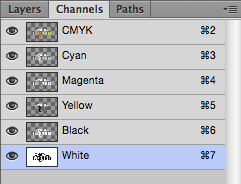
Open or Create your document. Open your "Channels".

Step 2

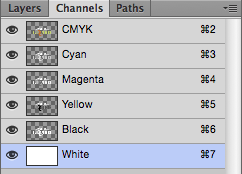
Create a new "Spot Channel". Name this channel "White", this channel can be represented by any color, but for ease of use, we'll make it magenta. By default, this channel will have nothing in it, its thumbnail will be white.

Step 3

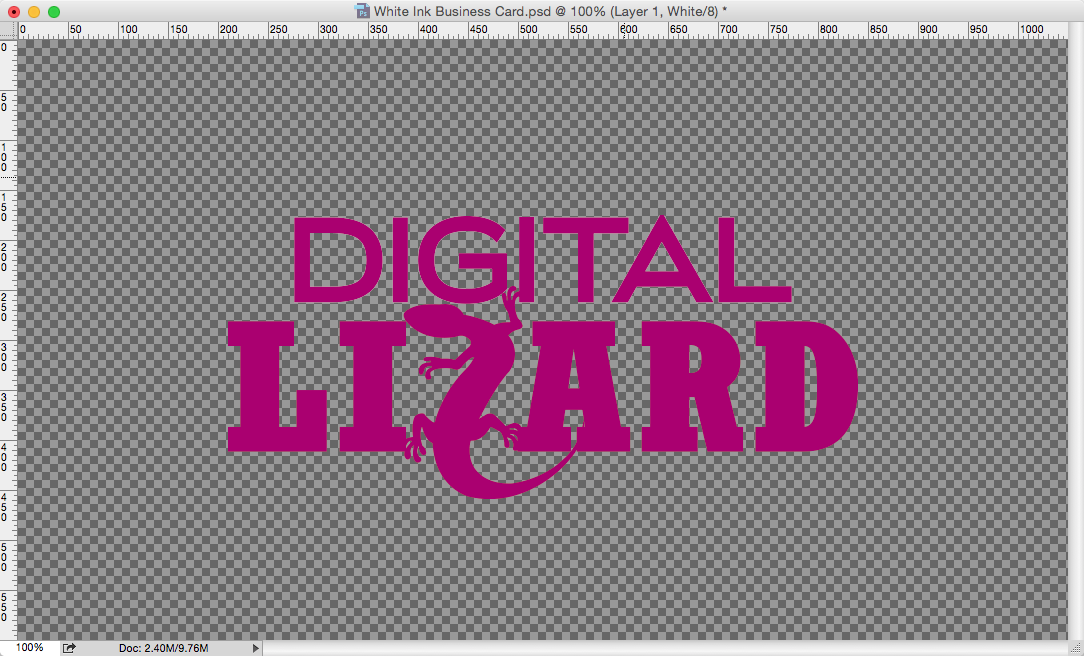
Determine what elements will be white or need to have white ink behind them. In this example, we're going to make the word "Digital" white and add a white layer behind the word "Lizard" and our mascot, Lizzy.

Step 4

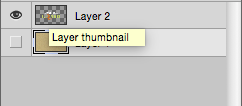
Select the logo layer by holding Control (on Windows) or Command (on Mac) and clicking on the layer's thumbnail. The logo should now be surrounded by a selection marquee.

Step 5

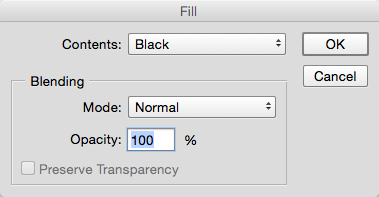
Return to your Channels panel, from here, select the "White" spot channel. Navigate to your "Edit" menu, find the "Fill..." command (this can be also be accessed through the Shift+F5 shortcut), Fill the selection on the white spot channel with black. After you've done this, the logo will have a magenta color over it and the Spot Channel thumbnail will have a black logo inside it.

Step 6

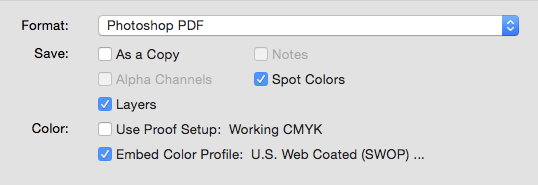
Save as PDF. When saving as a PDF, ensure that the "Spot Colors" option is checked.

Step 7

At this point we can impose and produce your file, when all said and done, a white ink card that followed these steps will look like this when produced on our Desert Storm cover stock.

White Ink, Photoshop, PrePress, Graphic Design, Stationery

About Digital Lizard

Digital Lizard is one of the most advanced digital print facilities in the United States. We have a fleet of digital presses, and a complete line of finishing equipment to meet all your fulfillment needs. As one of the fastest growing companies in the digital print industry, we are sure to have products and services to help you build and grow your business. Feel free to contact us about our various private label business solutions. Learn More

North Idaho

600 W. Buckles Rd.
Hayden, ID 83835

  • 866.494.6155
  • 208.762.4738
  • 208.762.4798

Las Vegas

2650 Westwood Dr.
Las Vegas, NV 89109

  • 866.494.6155
  • 702.852.3400
  • 702.920.8517

New Jersey

500 Corporate Drive
Mahwah, NJ 07430

  • 866.494.6155
  • 201.684.0900
  • 201.760.1004
© 2021 Digital Lizard All Rights Reserved. • CustomerService@DigitalLizard.com • Privacy Policy • An LSC Communications Company • LSC Blog